

Friday, January 26, 2024
Perennial Postage
Saturday, January 6, 2024
Earn free stuff Sale-a-bration!
Now is the time to earn free stuff! The new mini catalog is available, and sale-a-bration has begun. From now until February 28, 2024 earn free products when you spend $50.00 or $100.00.


Shop now:
https://TracyHenry1.stampinup.net
Wednesday, October 25, 2023
Oh Night Divine
A manger scene Christmas card using the Night Divine Bundle. I used watercolor paper for the background effect. Spritzed with water, then used the blending brushes to add shades of blue.
 |
| Night Divine Added the stars with a stencil and embossing paste inked with crushed curry. The sentiment was heat embossed on vellum. I die cut all of the manger images in white and colored with blending brushes and ink. |
Monday, October 23, 2023
Easist Shaker Card Ever

This is by far the easiest way to make a shaker card. I order these 4x6 cello bags on amazon.

Then cut the insert pieces to 3 3/4 x 5. Stamp the insert or use designer paper, then insert in the clear bags and add sequins or glitter.
When embossing on vellum you do not have to have craft ink or versamark ink. Any ink will work because it does not dry quickly on vellum, so just stamp and add powder and heat!

This is an old stampin up halloween set I found in my mom's stash. I buy the sequins at the dollar store.

Embellish with ribbons or sentiment! No need for the foam tape and way less hassle! For the Christmas shaker, I inserted the designer paper, then embossed the sentiment on vellum and slipped in on top. It was hard to get a good photo.
Thursday, September 28, 2023
merry merry merry merry
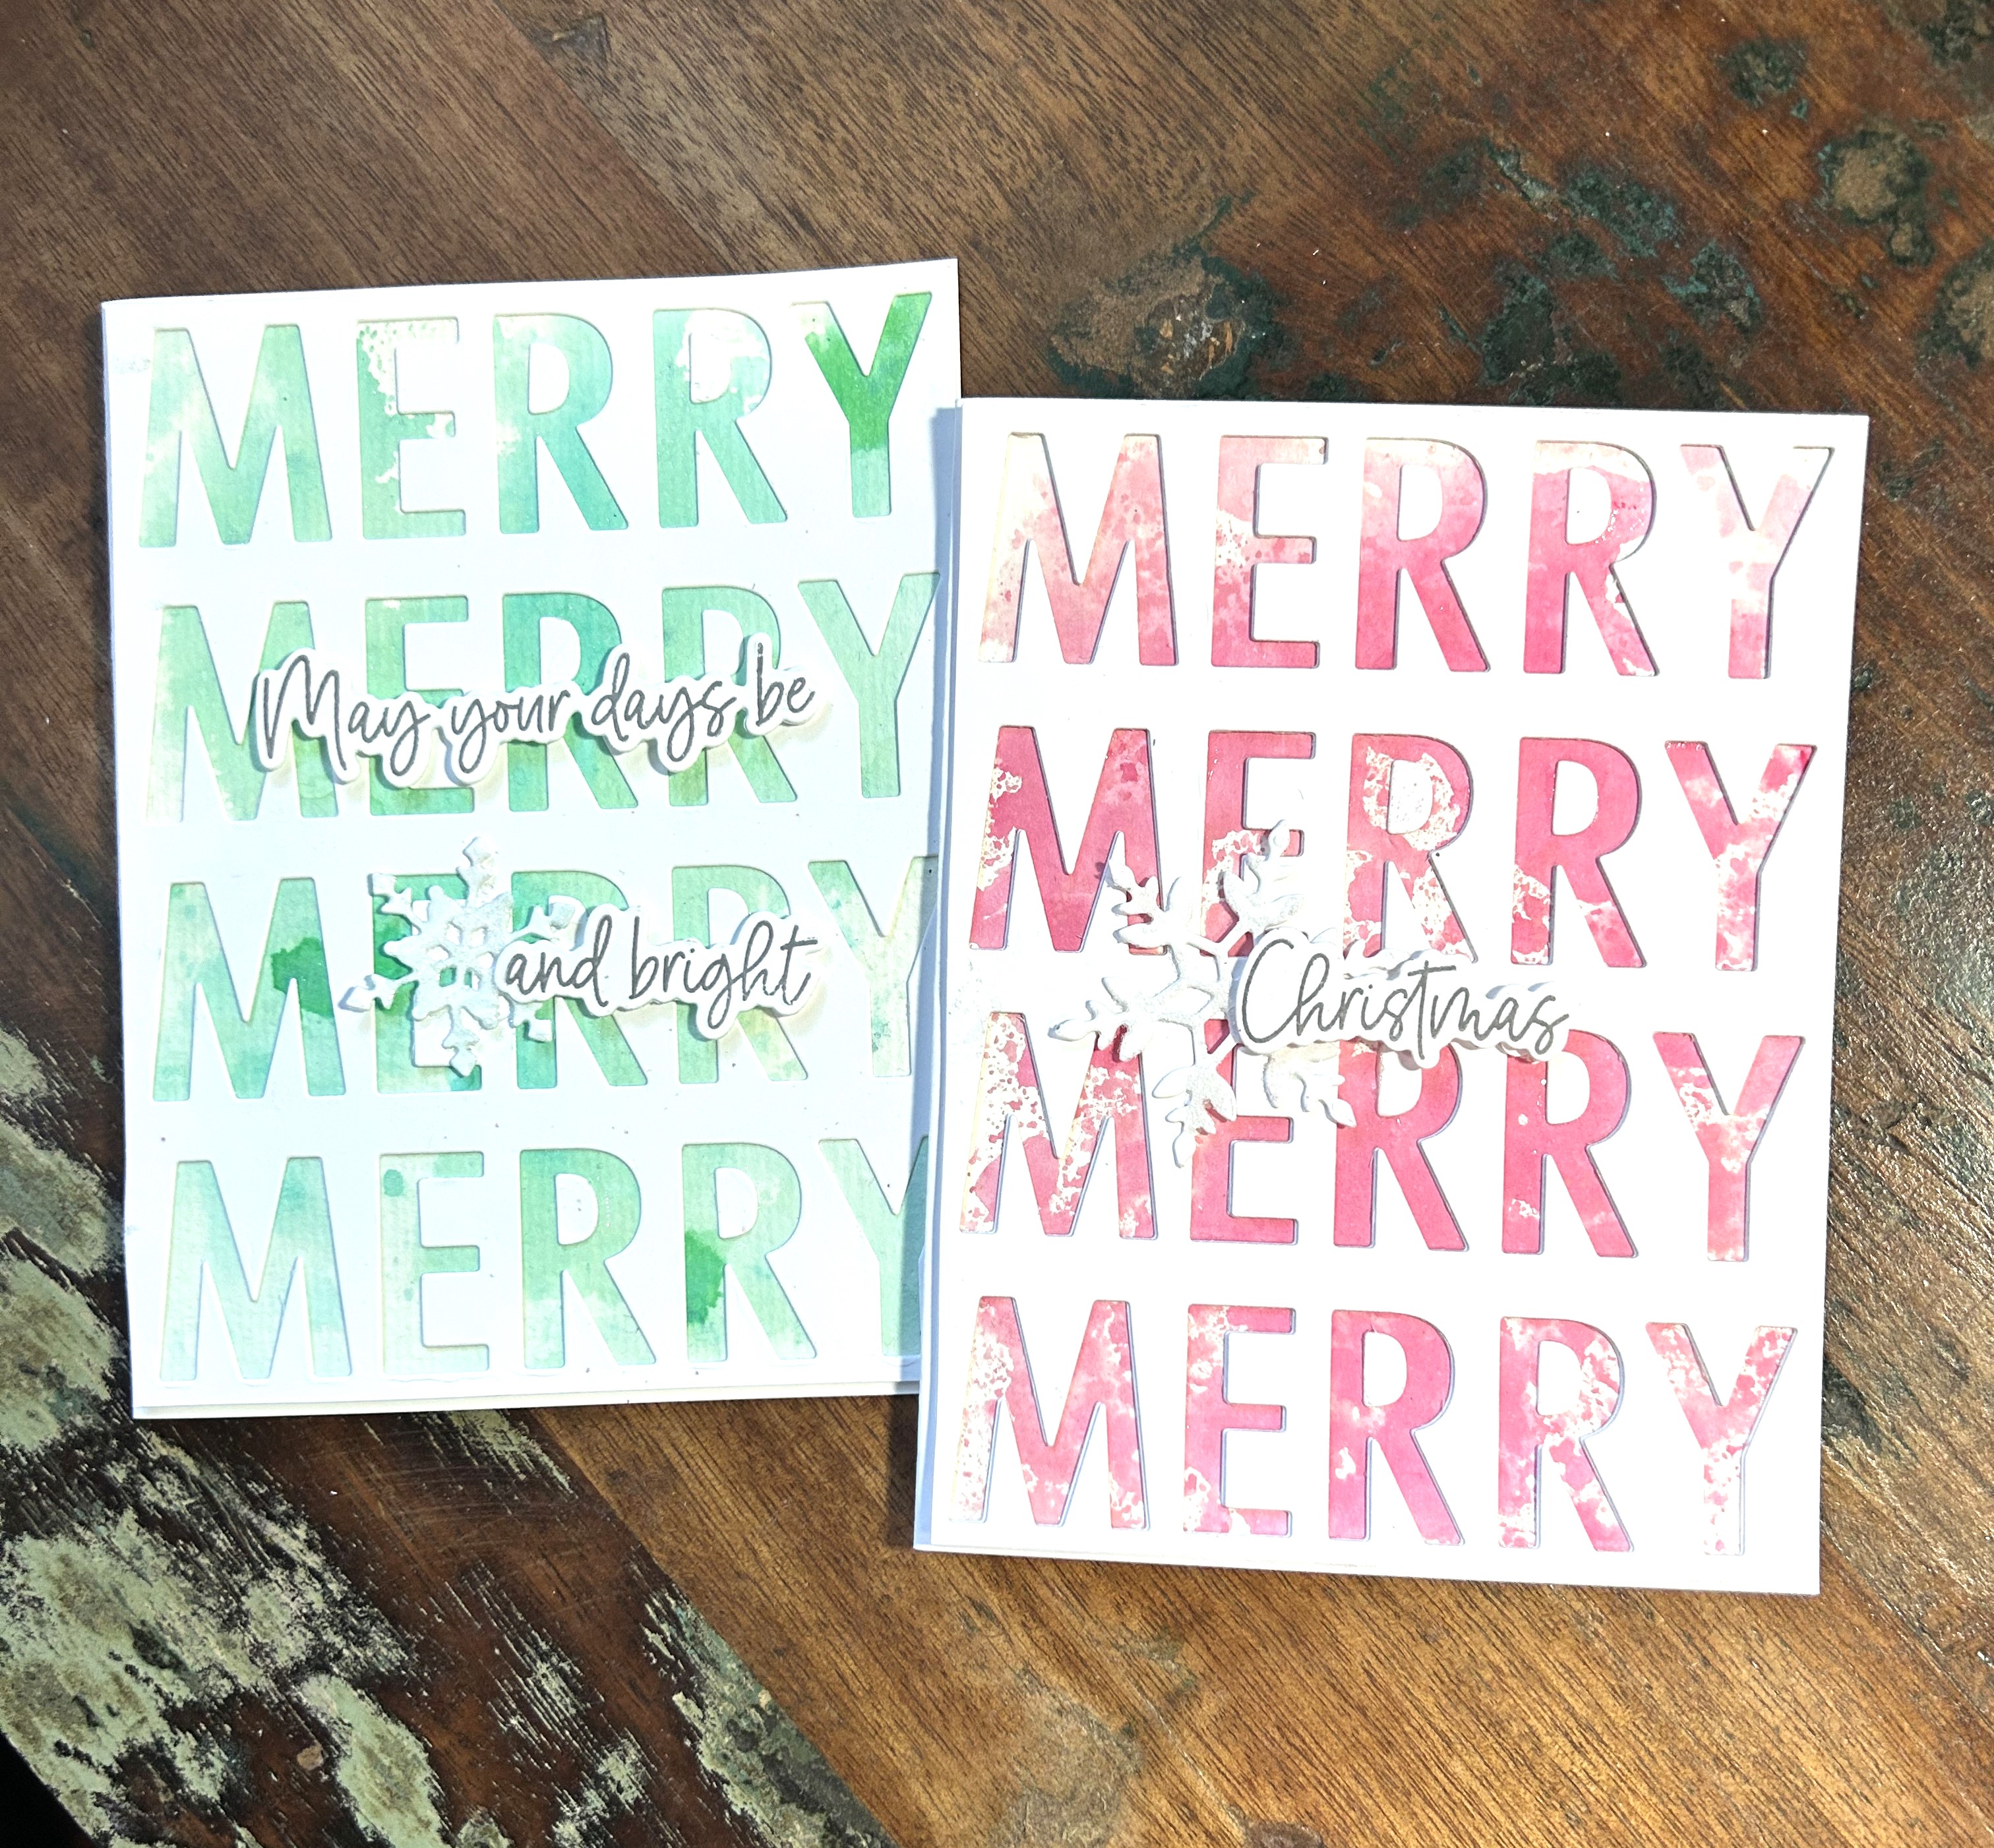 |

The background panels were made using watercolor paper and Ranger Distress Oxide Inks and Mica Stain Sprays. I sprayed or mashed the color on a craft mat, sprited with water, then placed watercolor paper on top, lifting, blotting and inking again until desired color was reached. The MERRY MERRY MERRY MERRY die cut is a nice focal point of the card. The bundle came with the sentiments and matching die cuts as well - may your days be, and bright, christmas, and everything. The snowflake is from an old Stampin Up die set.
This is such an easy process, it would be simple to make multiple Christmas cards using this technique.
For the green background the colors were Shiny Bauble and Merry Mint Mica sprays. For the pink background the colors were Cocktail Party Mica spray and Saltwater Taffy DOI.
Subscribe to:
Posts (Atom)